To insert a micro SD card into RealWear Navigator, do the following:
- Use a Philips #00 screwdriver to loosen the two screws that secure the micro SD card slot cover.
- Remove the micro SD slot cover.
- Gently push down on the micro SD slot to release the slot.
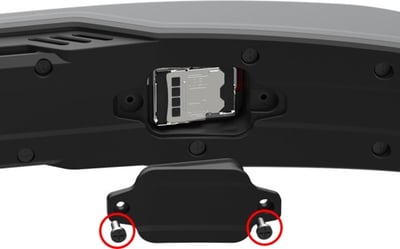
- Swing out the micro SD slot.
- Insert the micro SD card into the slot.
- Close the micro SD card slot and slide it into place.
- Replace the micro SD slot cover.
- Use a Philips #00 screwdriver to secure cover with screws.
Micro SD Card Setup
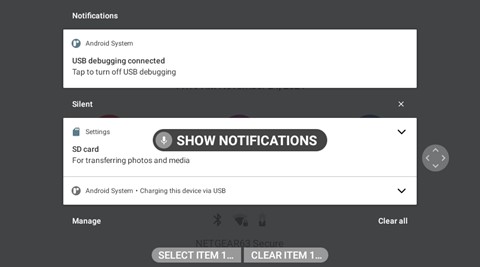
When a new micro SD card is inserted into RealWear Navigator, it is ready for use and does not require formatting. To make sure that RealWear Navigator sees the micro SD card, say “SHOW NOTIFICATIONS”.
Set Micro SD Card as Default Storage
To set the micro SD card as the default storage device, do the following:
- Say “MY CONTROLS”.
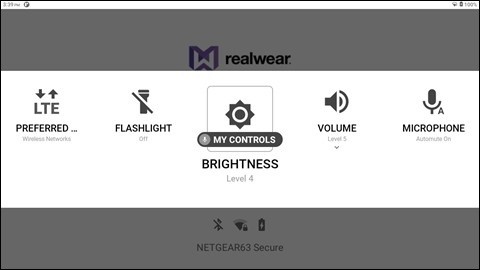
- Say “MORE SETTINGS”.
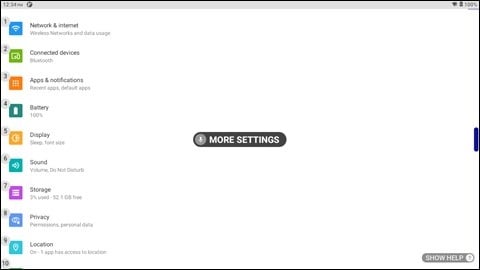
- Say “REALWEAR”.
Note: Say “PAGE DOWN” to scroll the page down until “RealWear” is shown on the display, as required.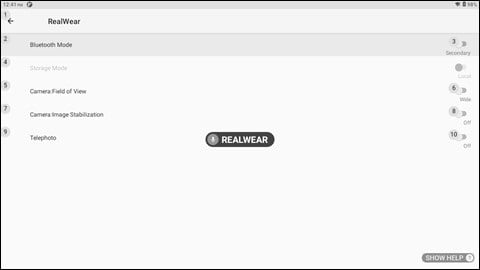
- Say “STORAGE MODE” to toggle between Local Storage and SD Card until the SD Card toggle is ON.
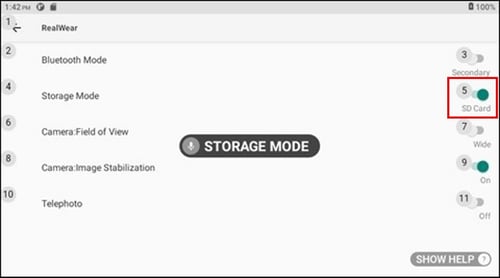
- The default storage is now set to the micro SD card.