Power Button

There are 2 buttons on the side of the boom arm side of the device. The smaller, silver, circular button is the power button. Later you’ll learn how to use this button to turn on the device, turn off, put to sleep, or wake up.
Action Button
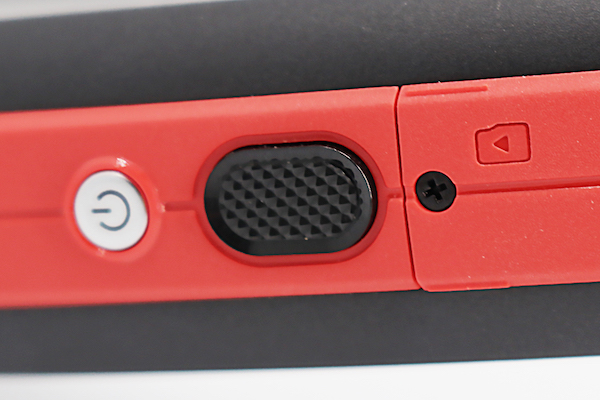
The action button is the large, textured button beside the power button, and serves multiple purposes. A single tap serves as a failsafe method of returning you to your home screen. Three quick, consecutive taps will toggle the microphone array between front and back configurations.
Pressing and holding the action button will open the Language Select menu and will cycle through a list of supported languages. Release the button to select your desired language.
SD Card Door
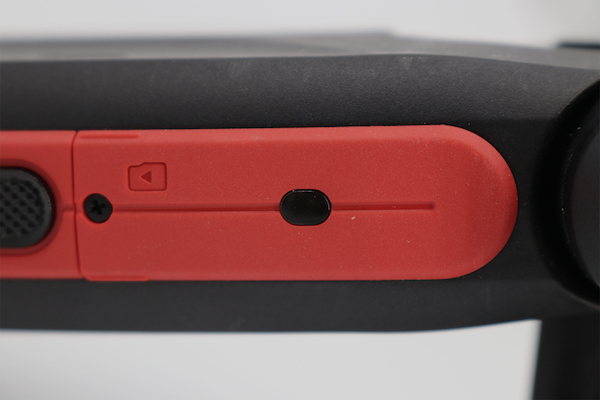
The MicroSD card door can be opened with a 001 Phillips Head screwdriver. You can insert a FAT32 formatted microSD card with a maximum capacity of 64 GB for portable storage.
Camera Pod
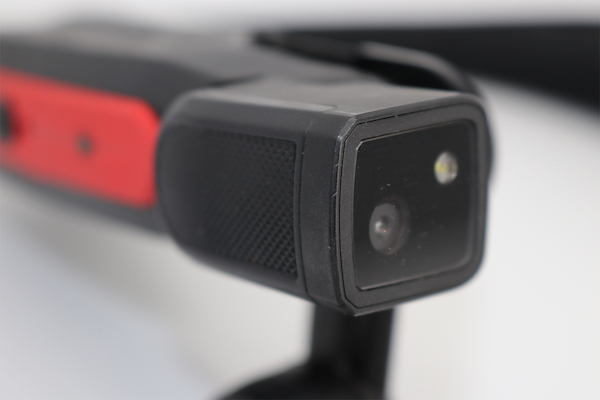
The Camera Pod is located above the boom arm and can be pivoted up and down ((x)) degrees. It is capable of taking 16 MP photos and 1080p videos.
It also includes a built-in flashlight that can be controlled with your voice.
Boom Arm
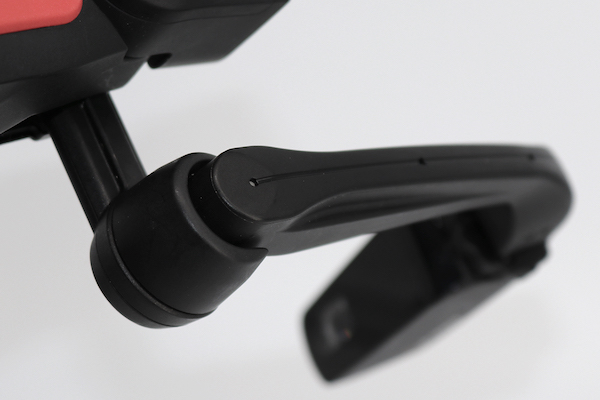
The Boom Arm allows the user to adjust the positioning of the Display Pod and allows for 6 degrees of freedom, which means it can be adjusted up and down, left and right, and forward and back.
It is comprised of a Shoulder, Elbow, and Wrist joint (imagine the human arm).
Its orientation can be inverted to allow use by left or right eye dominant users.
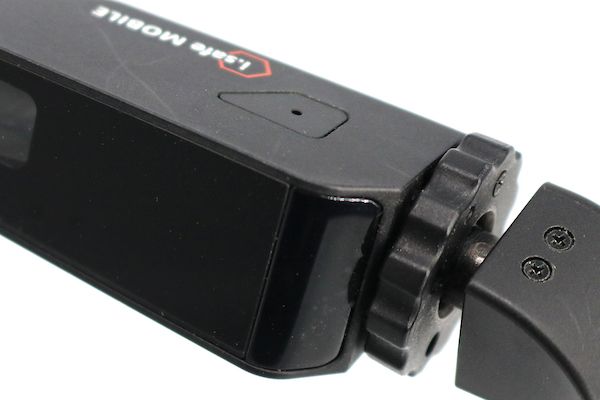
Wrist Joint Locking Ring

This is the small Wheel-shaped lock that locks the display pod in place, and is located between the Display Pod and Boom Arm.
Display Pod
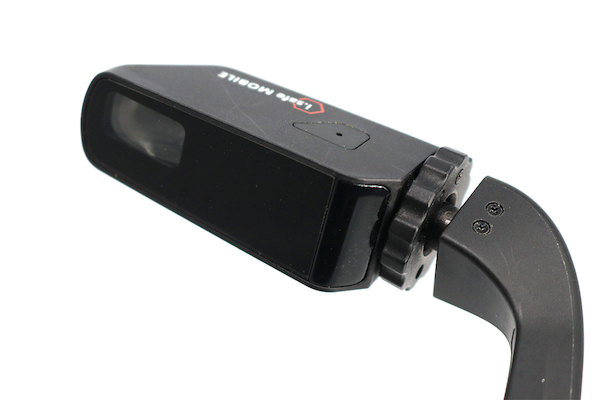
The Display Pod can be rotated and adjusted so the user can see the display clearly. The Display itself is an 854x480p 24-bit LCD Display with 20-degree field-of-view and 1-meter focal depth, meaning that it appears like a 7in. Tablet at arm’s length.
Microphone Array
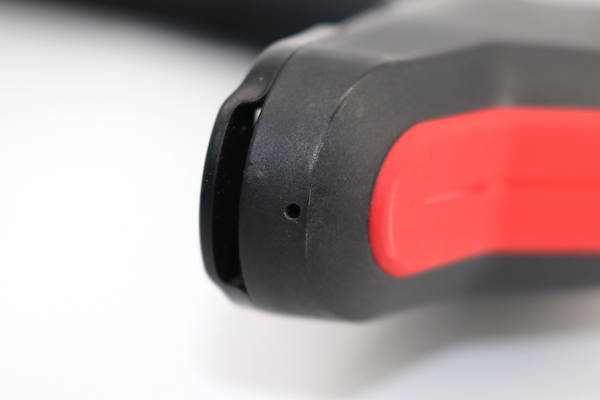
There are two sets of two microphones on the HMT-1. The Primary Microphones handle user input, while the reference microphones cancel external noise. The front microphones, active by default, are located on the display pod. The Primary Mic is downward-facing, close to the user’s mouth, and the reference mic is upward-facing to pick up and remove background noise.
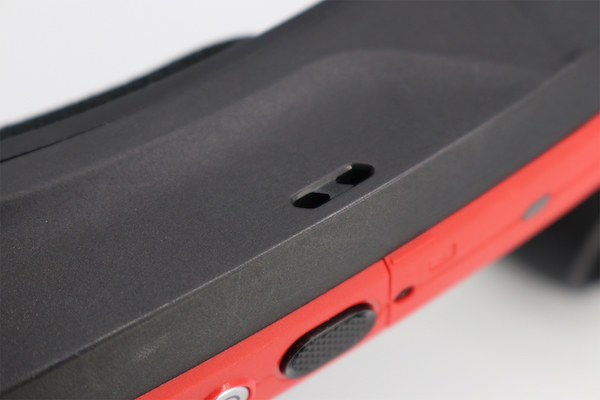
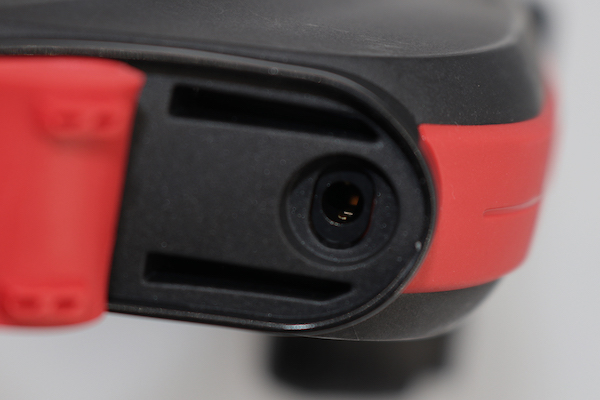
The rear microphones are located on the side of the device opposite from the boom arm.
These should be used only when communicating when the boom arm is flipped back and out of your field of view.
Speakers
There is a 91 dB loudspeaker that sits above the ear when worn on either side.
Micro-USB Port
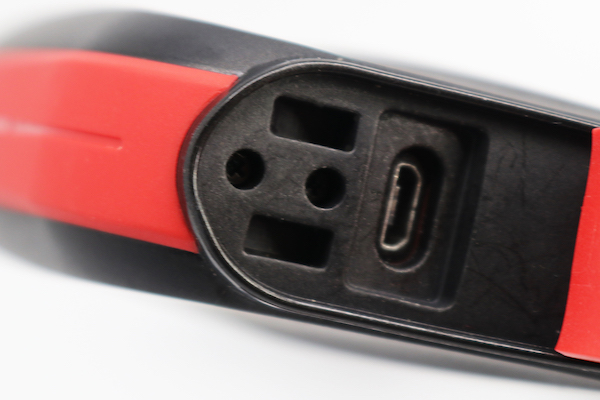
For all data transfer, you must use the micro-USB port, which is located beside the battery compartment, beneath the rear flap on the side opposite the boom arm.
Auxiliary Jack (Headphones)
Headphones can be connected to the HMT-1 via this jack. We recommend using RealWear 33 dB noise-reduction earbuds with your HMT-1. This jack is located beside the USB-C port.
Rear Head Pad
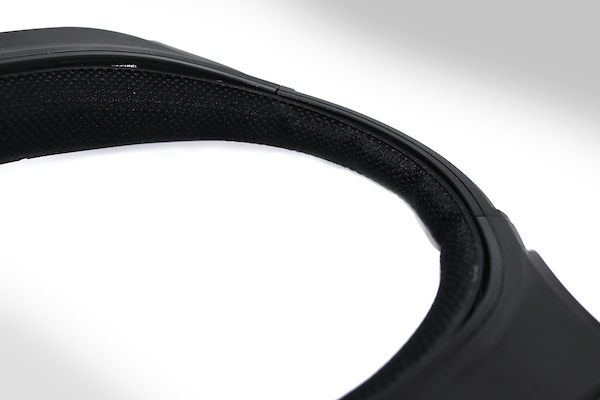
The rear head pad is an adjustable and removable pad located at the inside rear of the device that rests along the back of your head. If you are mounting your HMT-1 on a hard-hat or bump cap, you may choose to remove this for comfort.
Overhead Strap
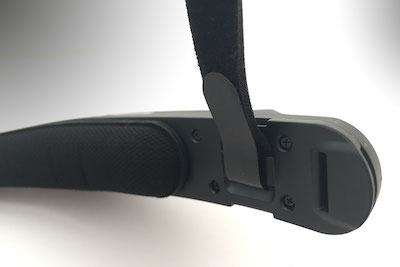
This is an adjustable hook & loop strap that rests across the top front of the wearer’s head. Again, if mounting via hard-hat or bump cap, this can be removed.