Say “MORE OPTIONS” from the camera to open the camera settings. They appear as a row along the bottom of the screen, with the current value beneath each one.
Say “HIDE OPTIONS” to close the row again.
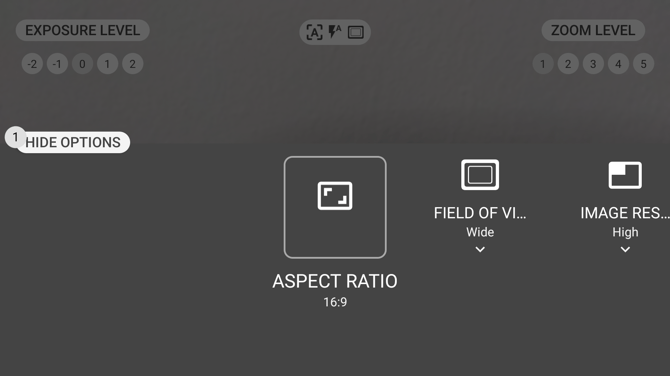
More settings sit to the right of the three shown. Say the name of the one you want and the row moves to it.
The settings
Say the name of a setting to open it, then say the value you want.
| Setting | Values |
|---|---|
| “ASPECT RATIO” | “16 BY 9”, “4 BY 3” or “1 BY 1” |
| “FIELD OF VIEW” | “WIDE” or “NARROW” |
| “IMAGE RESOLUTION” | “HIGH” or “LOW” |
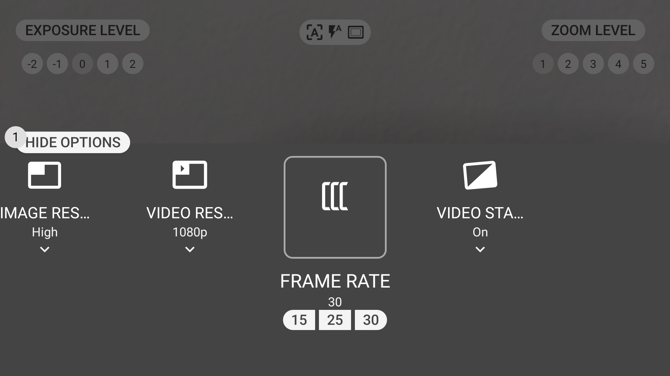
| “VIDEO RESOLUTION” | “4 80 P”, “7 20 P” or “10 80 P” |
| “FRAME RATE” | “15”, “25” or “30”. The Navigator series offers “60” as well. |
| “VIDEO STABILIZATION” | “ON” or “OFF” |
Note how the values are spoken. Resolutions are said as separate numbers, so 1080p is “10 80 P”, and ratios are said as words, so 16:9 is “16 BY 9”.
What they change
Aspect ratio is the shape of the picture. Field of view is how much of the scene fits in it. Image resolution and video resolution set the detail captured, and higher settings produce larger files.
Frame rate is how many frames a video captures each second, and a higher rate gives smoother motion. Not every combination works: if the frame rate you choose cannot be supported at the current video resolution and aspect ratio, the device tells you and adjusts one of them.
Video stabilization compensates for movement while recording, which makes a noticeable difference on a device worn on your head.