NOTE:
HMT-1 and HMT-1Z1 have gone end of support. Please consider upgrading to the Navigator 520, Navigator Z1 or Arc 3.
This article will walk you through how to wear your HMT device and ensure the best possible experience.
Step 1 – Determining Left- or Right-Eye Configuration
The HMT-1 can be set up so that the display and camera are aligned with the left or right side of your head.

First, it is important to determine your dominant eye, to do so, follow the simple instructions in this linked article.
Viewing the HMT’s display with your dominant eye will allow for the most clear and comfortable use of the device.
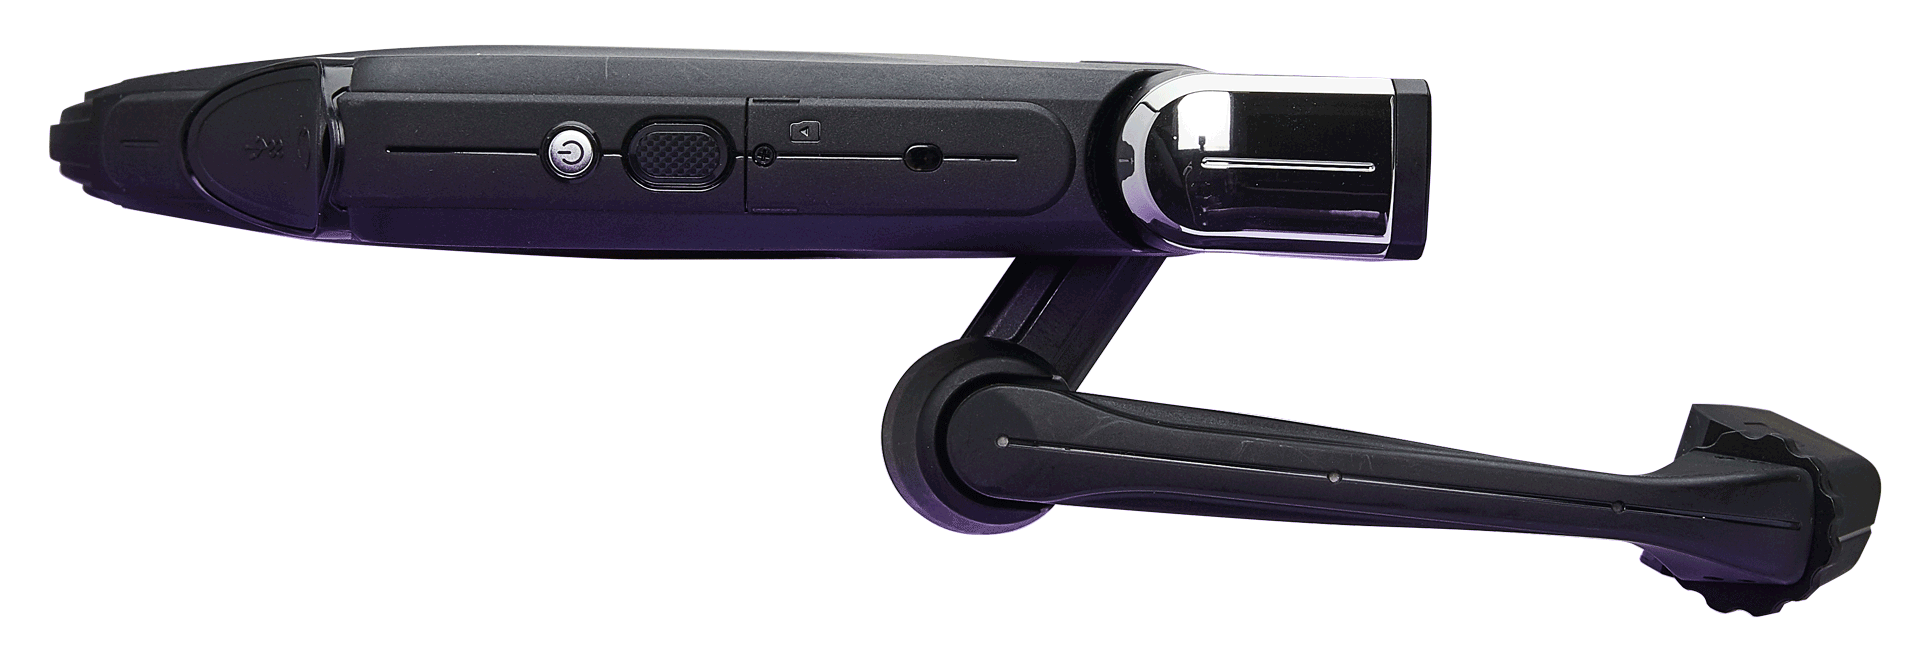
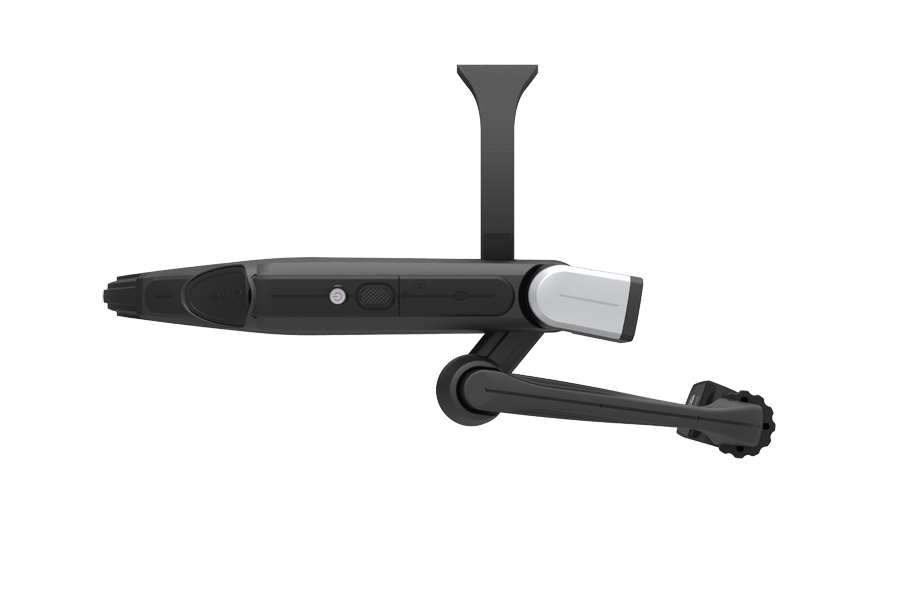
Step 2 – Get the HMT Ready
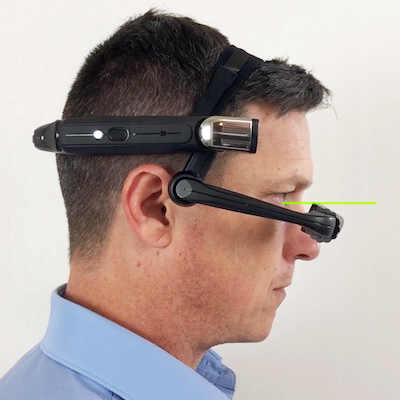
Before wearing, hold the HMT level with the boom-arm/display on the left or right, whichever is your dominant eye side. Bend the boom so it forms a slight “Z” shape as shown below.
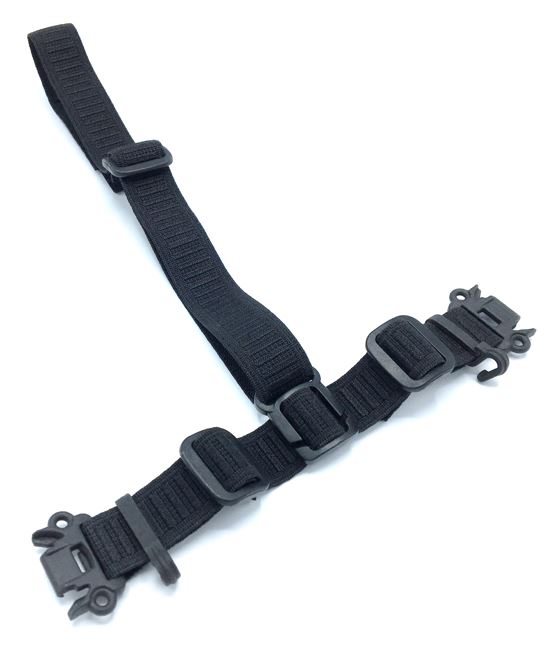
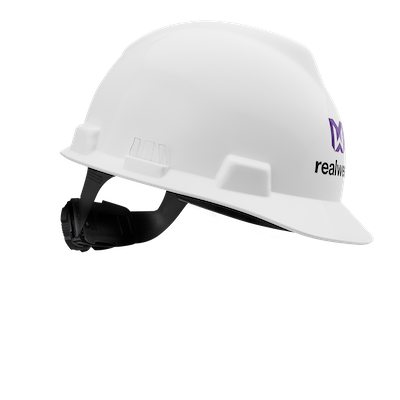
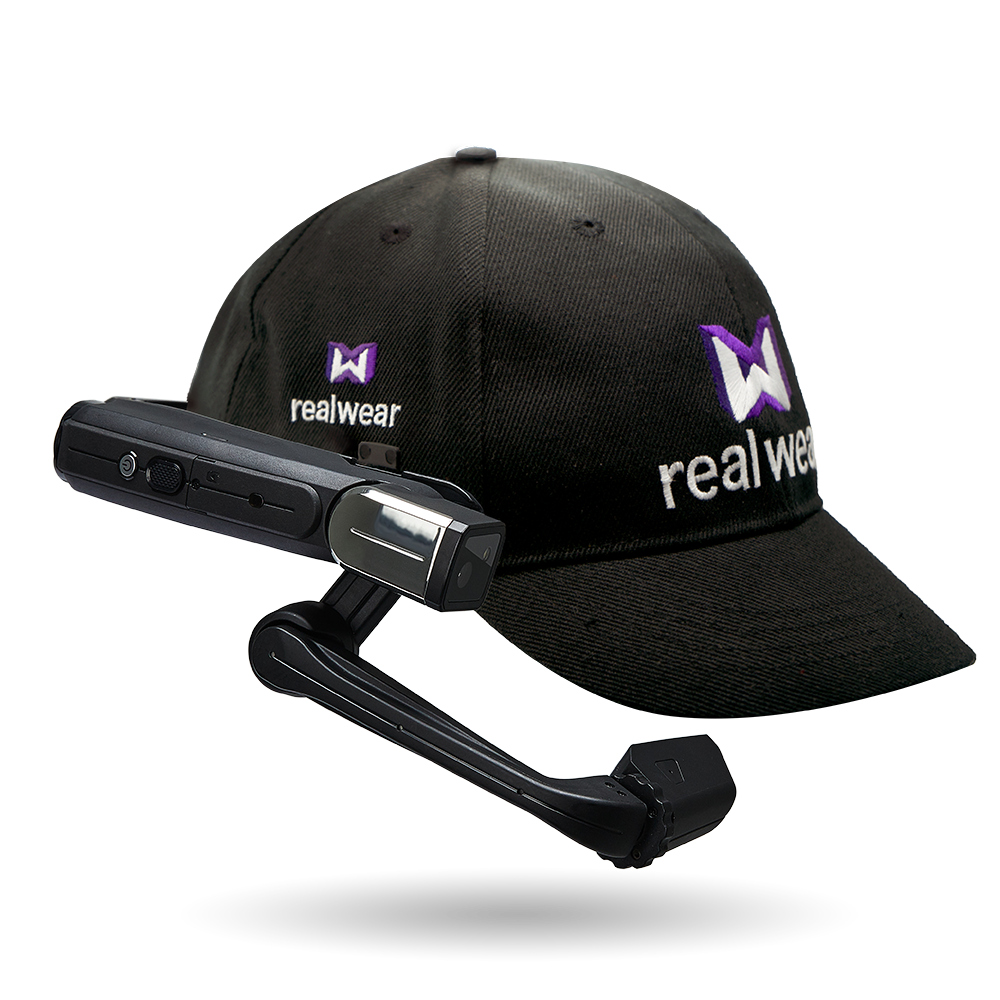
Step 3 – Ensure proper head-mounting accessories are in place.
These can include the single strap, tri-strap, hardhat with clips, bump cap with tri-strap, or baseball cap with mounting kit. See the article on mounting accessories for instructions on how to attach the device to your chosen mounting option.

Step 4 – Putting on the HMT
Start by positioning the device on your head so that it is roughly level with ground.
The head strap should be positioned vertically, not at an angle, resting over the top part of your head.
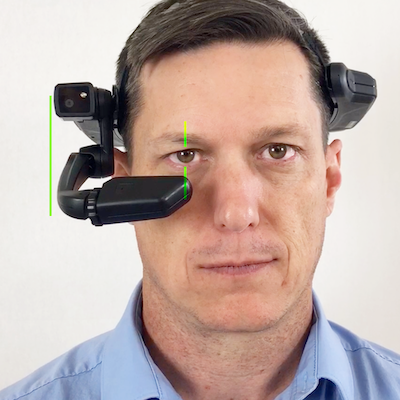
Step 5 – Fitting the HMT
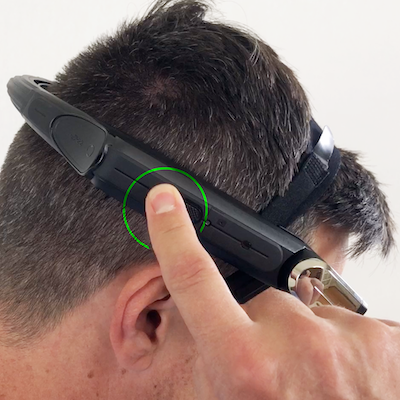
Adjust the head strap or mounted headwear so that the device is not hanging too low – it should be positioned right along your temple area, above your ears.
Next, move the display pod into position. For the optimal experience it is recommended that the display is close to the center line of your face, in front of and close to your eye.
Step 6 – Adjusting the fit
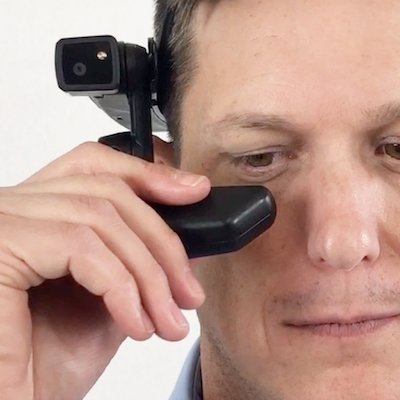
Ensure that the display pod is not positioned too far to the outside or too far in front of your eye.
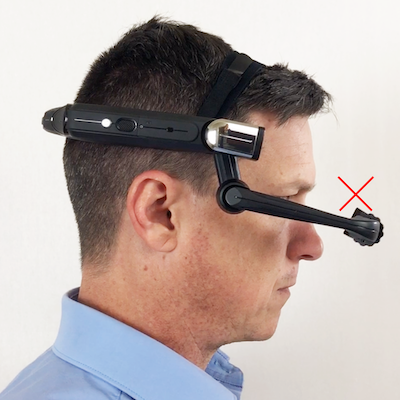
Move the display towards the center line by pushing from the outside inward.
Then holding the boom arm with one hand and holding the back of the HMT with the other, push the display pod inward so that it is close to, in front of and slightly below your eye.
Step 7 – Turning on the HMT
Before putting the HMT on your head, press and hold down the power button for about three seconds then release the power button. The power button is the round silver button on the same side of the HMT as the boom arm/display.
In about ten to fifteen seconds you will hear a sound as the start-up sequence completes. The HMT is now powered on and ready to wear.
You should now be able to see the screen.
Step 8 – Fine tuning
It is best to tilt and rotate the display pod to make minor adjustments.
Make sure that the display pod is rotated so that all four corners of the screen are clearly visible to your eye.
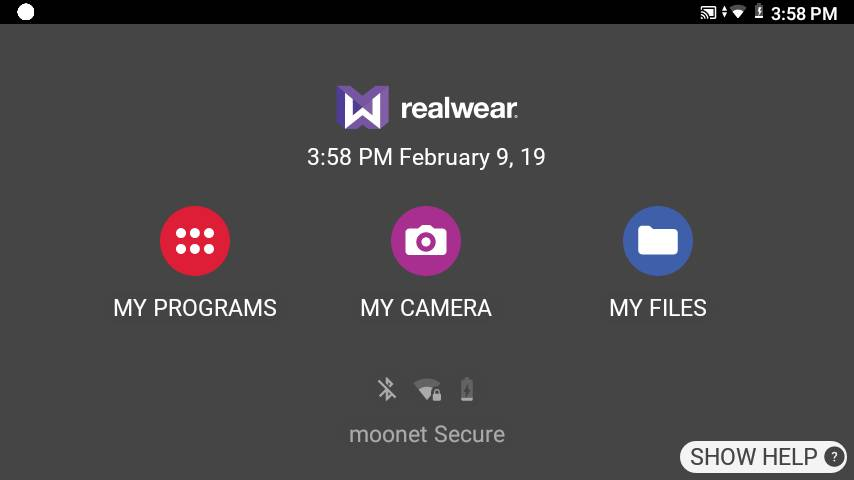
With your HMT powered on, and the display pod positioned correctly, you will see the entire HMT Home Screen.
If you are not able to clearly see what is on screen, review how your device and display setup – double check the fitting of the strap or headwear and if your display is correctly setup for your dominant eye.
Step 9 – Fine tune the camera

When you are ready to use the camera, you will need to make some final adjustments so that the view of the camera is forward and unobstructed.